A very simple Go-Redis app to demonstrate efficient image building processes & discovery of multiple services. If interested in a similar java / spring based app, please check out Docker with Spring Boot.
If you want to skip everything and just run this app on your own infrastructure, including docker-for-mac, virtual machines, aws, azure etc, and look at the results, follow the steps below:
git clone https://github.com/anokun7/counter-demo.git
cd counter-demo/test
dockerid=<your dockerid> ./run.sh
If anything fails, please check the prerequisites below. Else you should be able to hit the URLs specified at the end of the out of run.sh above.
- How
docker buildworks.- Different ways of building & understanding the outcomes
- Using the new multi-stage build (which is totally awesome btw)
- Deploy each of them on a docker swarm mode cluster using
docker stack deploy.- Learn how to use various
docker stack&docker servicecommands to control the services deployed - Understand how to pass "env" specific flags to simulate different environment
- Test that everything works & perform scale up/down of individual services
- Deploy the app on a DDC cluster running on Docker EE
- Learn how to use various
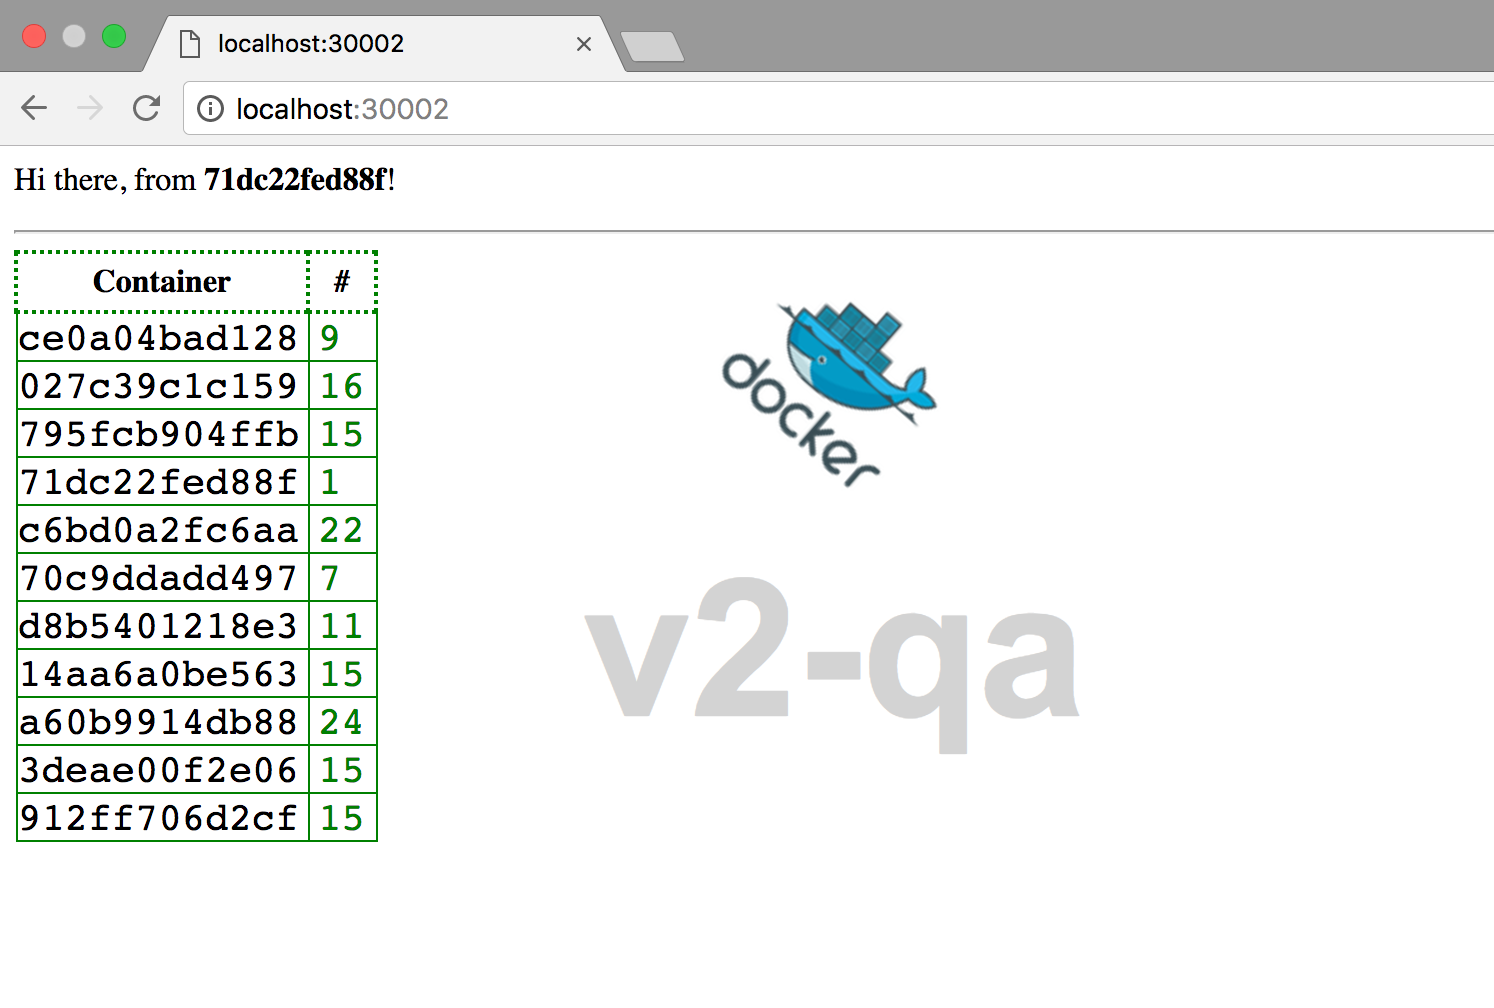
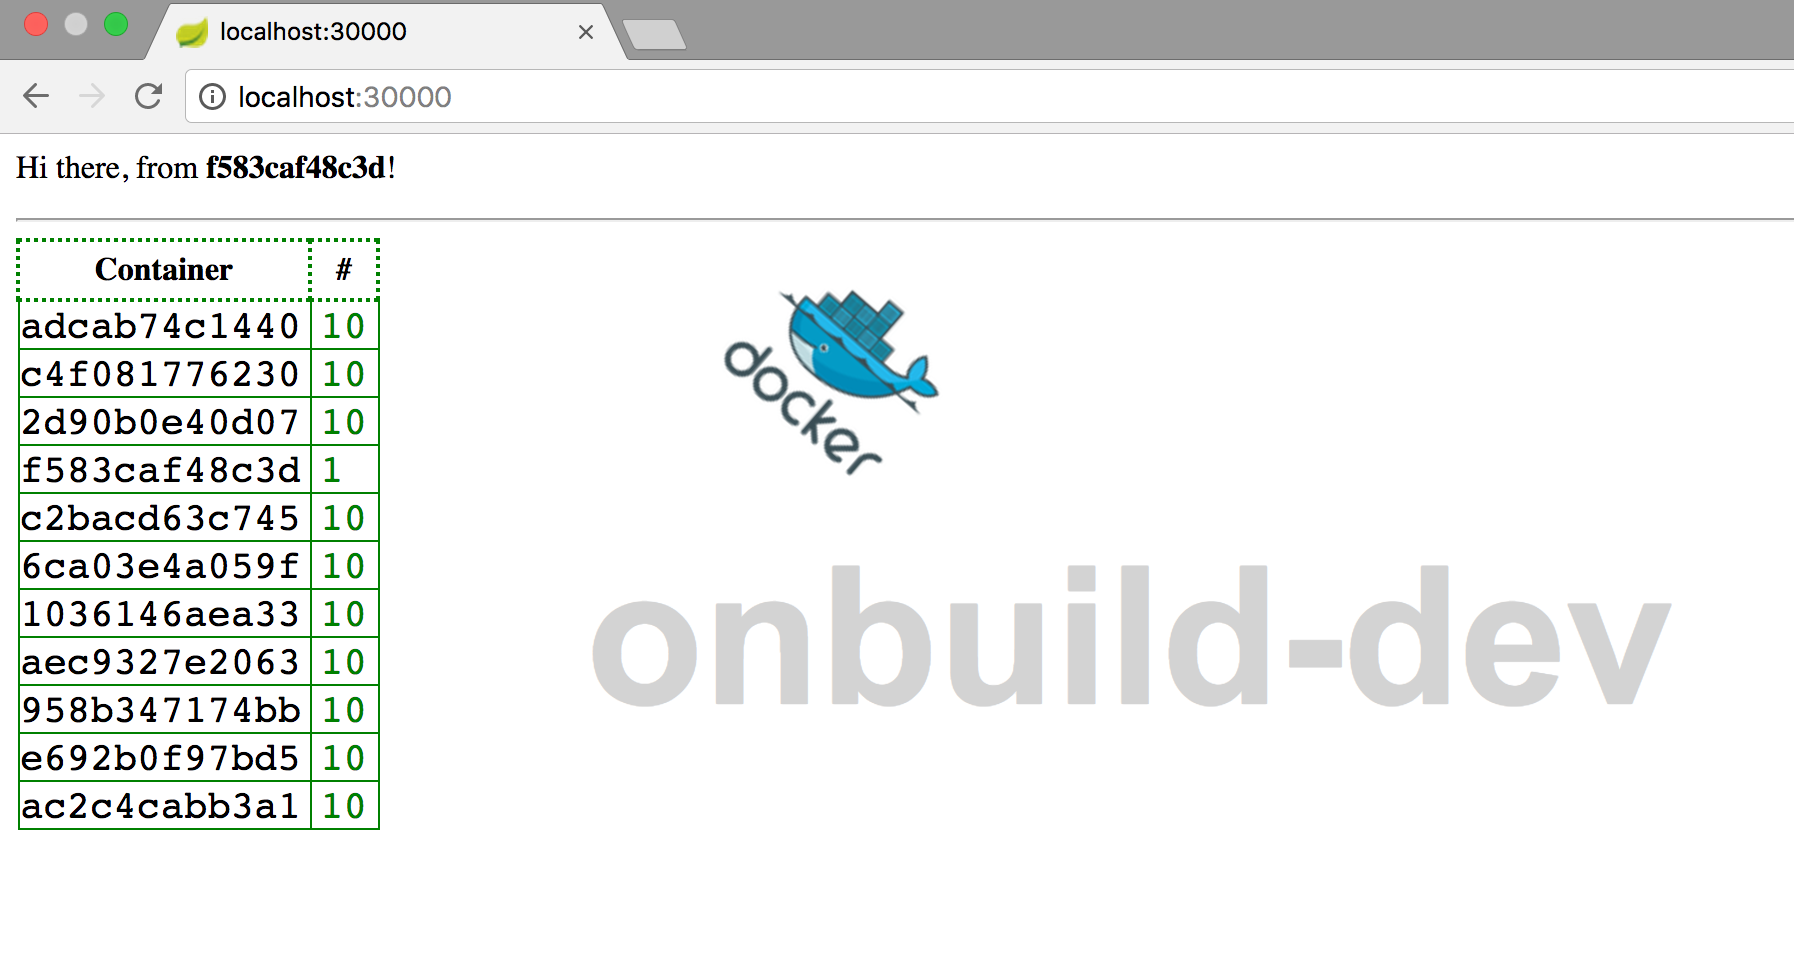
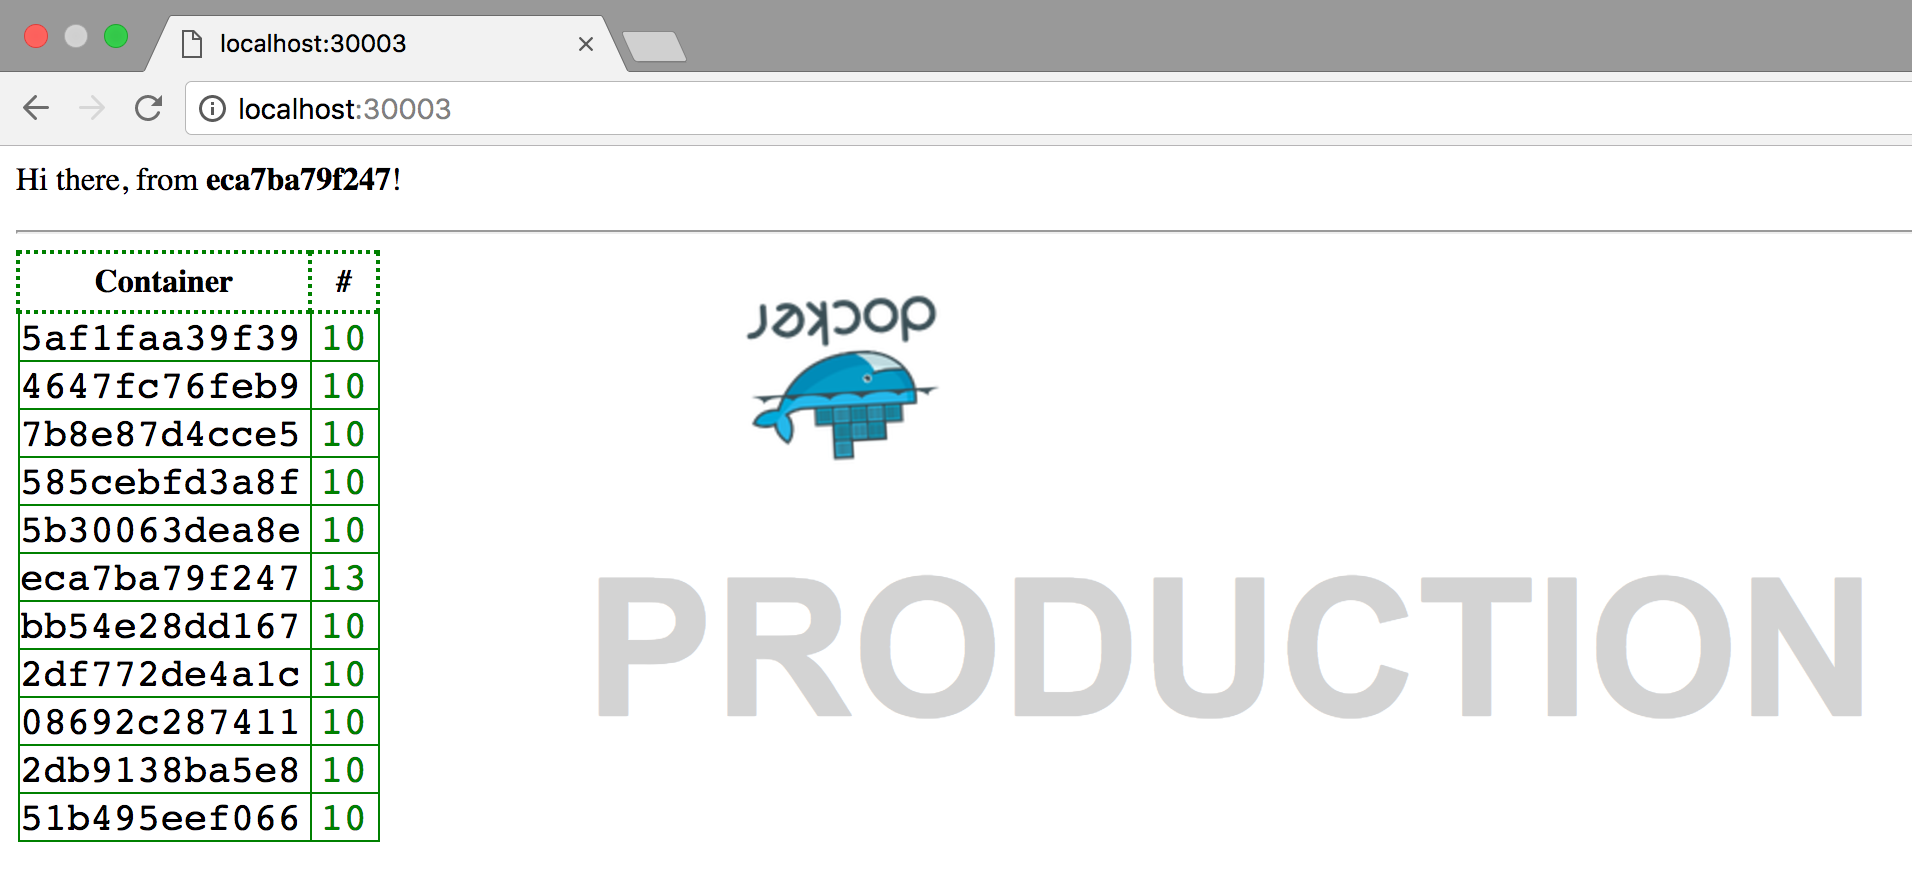
The counter-demo app is probably the simplest dynamic web application ever built. It has a front end, running a webserver all written in golang (Go) and whenever it responds to a request, it increments a counter that is tracked in a redis database. Each counter is unique to the host (or container) on which the webserver is running on.
The stats as to which host / container was accessed how many times based on the counter is displayed in a tabular format. Additionally, there is an indicator that displays the particular env version of the application deployed.
Below are the steps to build the docker image for each flavor of the application. The only component we will need to build is for the web server / front end application. The back end which is on redis will simply use the official docker image from the store. Details on that are available at https://store.docker.com/images/redis?tab=description.
- Have a dockerid created and ready to use. You can create one for free at https://hub.docker.com.
- You should have docker installed (of course). You can use Docker for Mac (D4M) or Windows or you can use a Linux machine that has docker. If you use Windows, please note you will not be able to run some of the scripts in the test folder.
- You should have a swarm cluster available. This should be the newer swarm mode (not classic swarm), using
docker swarm init. It does not matter how many nodes are members of the cluster, you can setup a swarm mode cluster using a single node using D4M or D4W.
To run through all the different scenarios in this repository, including building images in different ways, starting a separate application stack that uses each image independently and generating test data, just run the script at
test/run.shas
cd test
dockerid=<your dockerid> ./run.sh
To cleanup, please run
./teardown.sh. (You may have to run it again to ensure volumes and networks are cleaned up properly)
Image building in Docker can be accomplished in a few different ways to demonstrate the evolution of building images to make them more efficient in terms of size. Having a small image ensures that you have elminiated technical debt, improved security by not including unnecessary files and in most cases improved the performance of not only deploying the application but also in the running of the application. Below is a brief description of the different ways this project builds the image:
- The old way, very simple but not efficient in terms of resultant image size:
This uses the
ONBUILDtagged image as the base image. TheDockerfilefor this is atsrc/Dockerfile.onbuildand all it contains is the lineFROM golang:onbuild. This takes a "standard" go project and builds it like a "generic" application. It provides no control on the version of golang to use or the flags that can be sent during the build of the application. It works, but the derived image is always going to huge & unoptimized. But if you want convenience, this is the solution that would work the best. To build using this Dockerfile, just run the following:
cd counter-demo
docker build -t counter-demo:onbuild -f src/Dockerfile.onbuild src
- The old way, improved, but it involves a two step process. The first step is to build a statically linked binary. Using the
golang:onbuildimage as in the previous method is not useful as this involves customization of the build command to pass certain flags to thego buildprocess, which is not possible to do. Therefore, we will use a regulargolangimage as the base and pass the necessary flags to the build command to result in a statically linked binary file. To accomplish this, run the following:
cd counter-demo
docker build -t counter-demo:v1 -f Dockerfile.part1 .
You can run a container using counter-demo:v1 if you want, but it is there only for checking or making this image somewhat useful. We still need to perform an additional step to make the image lean.
Now we have an image counter-demo:v1 containing the binary, but it also has all the unnecessary bits like the golang installation, other dependencies necessary to build the binary etc. We do not need all these to run the application, we need just the binary and because it is statically linked it should be able to run alone all by itself. Images are immutable and even though you can build a new image derived from this image, you can only add files to it, but you cannot remove files. Therefore we will build a new image and copy over the binary into that image and everything else behind. We cannpt copy files from images directly, so we will have to create a container using the image, before we can use docker cp to copy over the files we want. We can achieve a high level of leanness by using the scratch image as the base as evident in Dockerfile.part2.
Also note that only the program can be statically compiled, we would still need any template files and such.
To accomplish this, run the following:
docker run -d counter-demo:v1
docker cp $(docker ps -ql):/go/app .
docker build -t counter-demo:v2 -f Dockerfile.part2 .
# Clean up
\rm ../app
- The new, by far the cleanest and the most efficient way: Also known as a multi-stage build, this was released in Docker 17.05 and it is still experimental at this point in time. In this method we do not need to manually run a container and copy required files into a new image. Everything is automated using native docker (or Dockerfile) instructions. It is possible to have as many steps as necessary to arrive at the final image. Running this is as simple as the following one-liner. The result will be the same as running the multiple step process in the previous method:
docker build -t counter-demo:latest .
In order to run the application in each of the three modes (onbuild, two step, multi-stage), follow the steps below:
- Tag each of these images appropriately with your dockerid and push them to Docker hub.
- Use the stack file by passing appropriate environment variables to bring up the correct version and also to provide a visual identifier so you know which environment has which version of the image.
Let's see how we can achieve both using the commands below:
# For the OnBuild version:
docker tag counter-demo:onbuild anoop/counter-demo:onbuild
docker push counter-demo:onbuild
env=onbuild-dev version=onbuild dockerid=<your dockerid> docker stack deploy -c docker-compose.yml OnBuild

# For part 1 in the 2-step process:
docker tag counter-demo:v1 anoop/counter-demo:v1
docker push counter-demo:v1
env=v1-qa version=v1 dockerid=<your dockerid> docker stack deploy -c docker-compose.yml QA1

# For part 2 in the 2-step process:
docker tag counter-demo:v2 anoop/counter-demo:v2
docker push counter-demo:v2
env=v2-qa version=v2 dockerid=<your dockerid> docker stack deploy -c docker-compose.yml QA2

# For the multi-stage version
docker tag counter-demo:latest anoop/counter-demo:latest
docker push counter-demo:latest
dockerid=<your dockerid> docker stack deploy -c docker-compose.yml Prod
Now you should be able to access each of the individual applications at:
Hit the refresh button a few times to see the counters increment as it hits different containers. You can also simulate load by using a simple one-liner like below:
for i in {0..99} ; do curl <URL>; done
Let's scale some of the services using the commands below:
docker service scale OnBuild_web=12
docker service scale QA1_web=2
docker service scale QA2_web=17
docker service scale Prod_web=22
We can refresh the browser (or use curl) just as before to see the new containers being hit & their counters getting incremented.